Biomes Curriculum

Week Two

Habitat

During Week Two, children will learn how climate affects the way we live as well as the type of living structures humans need to survive the climate and weather conditions.

  • Social Studies

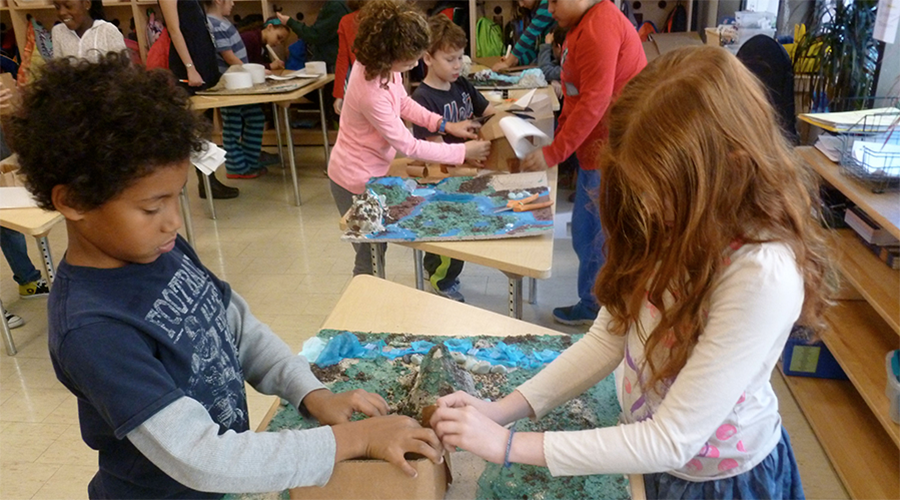
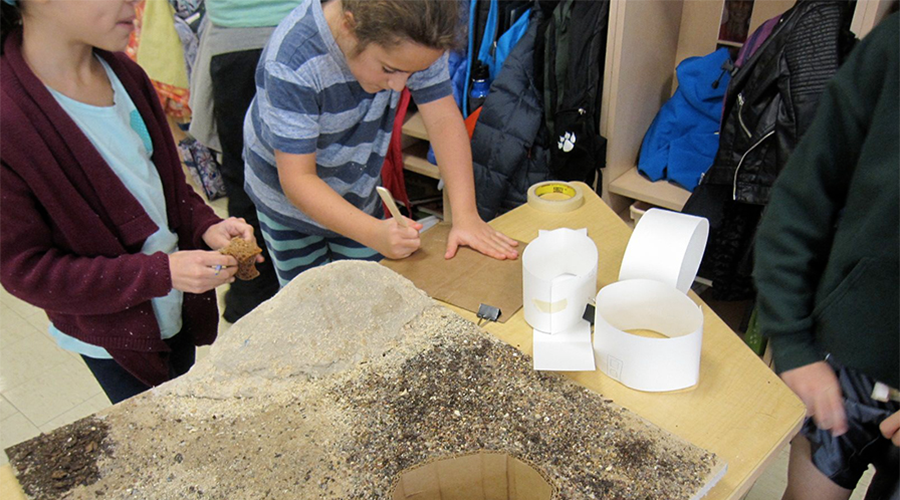
    Two children making a mold during artSchedule
    Two to three 45-minute classroom periods

    Goals
    Students continue researching and analyzing their biome, expanding from informational books to educational internet-based resources. Students deepen their understanding of the definition of a biome and key vocabulary such as climate, adaptation, latitude, and longitude.

    Materials
    Computers, Internet access, teacher-selected websites

    Procedures
    Students use guided note sheets to explore the NASA Earth Observatory website on biomes. Each student explores their assigned biome and completes note sheets with information about temperature, precipitation, location, and other facts. Students have opportunities to share across groups what they have been learning.

    Suggestions for Teachers

    • Set clear guidelines for computer usage and web browsing.
    • Students are allowed to navigate teacher-selected sites only.
    • Students in the same biome group might be give the option of researching together, as long as each student completes their own sheet.
    • If there is extra time, allow students to do research and take notes on biomes that are not assigned to them.
    • The NASA website does not include research on wetlands, so use another educational website and a modified note sheet.
    • If there is extra time, consider pairing students to exchange information across biomes.
    • Consider displaying note sheets in classroom by biome.

    Assessment
    Formal: Teacher review of note-taking sheets
    Informal: Asking children individually and in whole group about learnings, discoveries and questions about their biome.
  • Integrated Arts

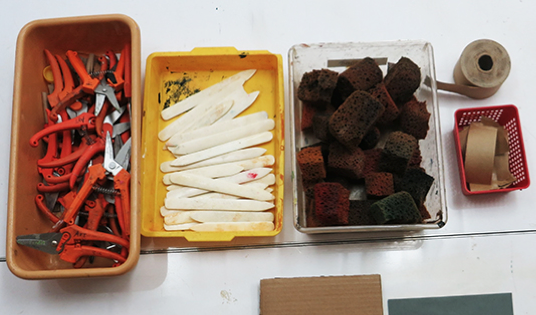
    Art materialsSchedule
    One hour with classroom, art, and student teacher or volunteer teachers

    Goals
    While designing and building the shelter for their biome, students think about the three-dimensional qualities of a structure. Students design their shelter thinking about how location and climate affect how buildings are shaped. During construction, students learn various ways to fold and join cardboard to create their structure.

    Materials
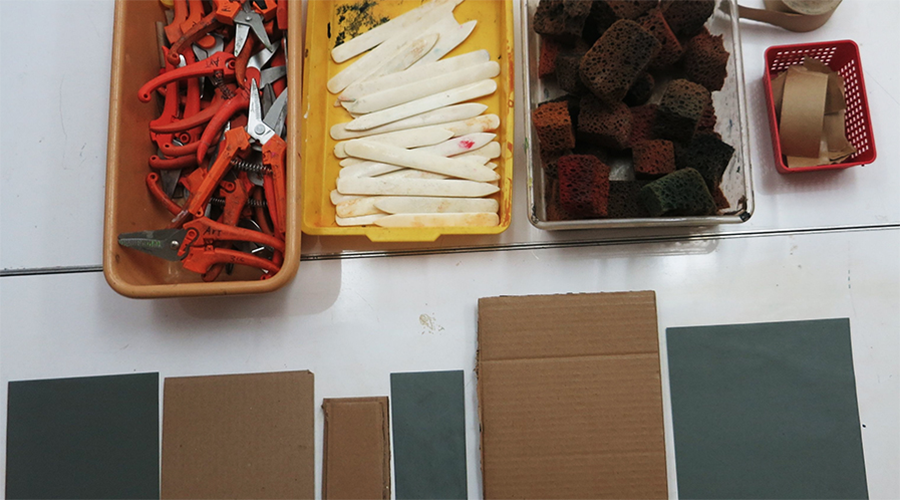
    Various shapes of long cardboard and unlined white paper in the same sizes as the cardboard, bone folder, small strips of glue tape, damp sponges, cardboard scissors, toilet paper tubes, and one X-acto knife (a soap box)

    Procedure
    Motivating Question: (Full Group Discussion 10 minutes)
    What are some differences between desert and wetlands? How will a shelter be different in these places? What are the parts needed for a shelter? (Teachers chart a list, such as walls, roof, windows and doors, stilts, porches.) What are some shapes you can use to build the body of a shelter (triangles, circles, rectangles, squares)?

    Visualization
    Let’s look at this box of soap. I am going to open it and see how many sides we have. Anyone want to guess? Are they all the same size?

    (Open the box) Let’s look together as to how this box is shaped. (Students make observations.) Suppose I would like to make a round house: What can I do to shape it? (Allow students to demonstrate on paper.) What about a triangle?

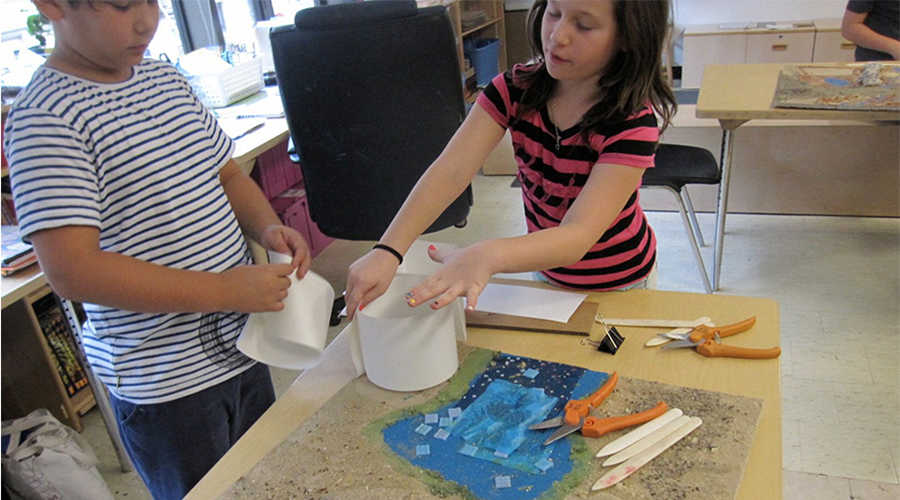
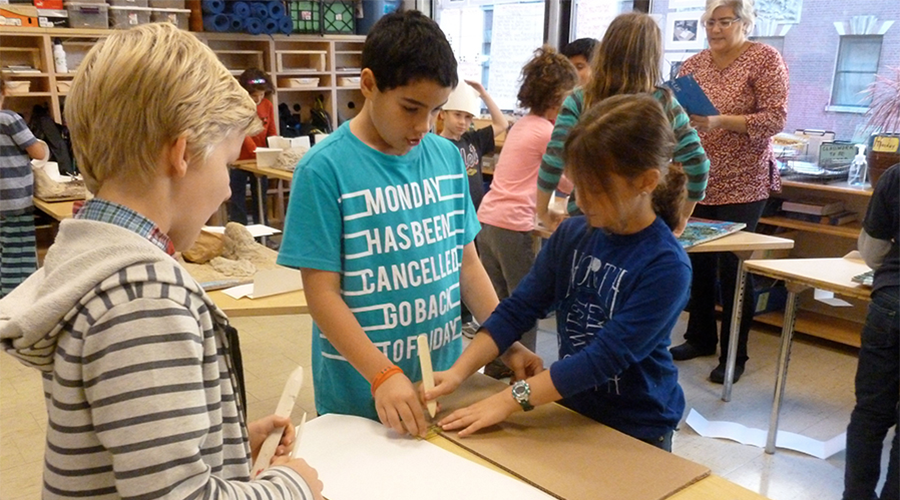
    Today each person in your group will be an architect. You are all going to select the best length and height of cardboard. With the paper that is clipped to the cardboard, you will practice making your three-dimensional design. Once you have a design, you can share it at your table and then select one design or combine the group’s ideas to make the permanent house using the cardboard material.

    Introduction of Materials: (5 minutes)
    Introduce the bone folder and tape paper.

    Assessment

    Informal: Observing children’s conversations, choices and model-building decisions. Asking questions about their choices of shape and size.

    Suggestions for Teachers

    • Make sure each child makes a three-dimensional plan on paper, which is more malleable than cardboard.
    • Have students stand up while working; put chairs away.
    • Provide a damp sponge and paper tape to join cardboard.
    • Provide one place for all the art materials to be displayed.
    • Once the group has their ideal cardboard house, have them draw the windows and doors. Teachers cut out using X-acto knife.
    • During the week, after the design phase, invite students to look online at houses so they can see ranges of shapes and designs.
  • Handouts for Children

Week Two Snapshots

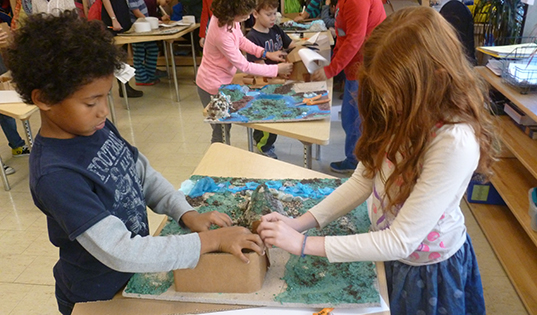
  • Kids work on biomes projects in groups
  • Biomes project materials
  • Kids work with paper for biomes project
  • Students design the outline of their biomes structure
  • Kids work with cardboard for their biomes project